
ITE Noida is a trusted name in the field of testing equipment and packaging quality assurance, we deliver accurate, dependable, and user-friendly solutions. Among the various tests used to ensure packaging integrity, the vacuum leak test is one of the most essential. Whether you are in the food, pharmaceutical, chemical, or consumer goods industry, maintaining airtight and contamination-free packaging is critical for product safety and shelf life. We provide advanced testing systems that make the entire process smooth, reliable, and compliant with global standards.
A vacuum leak test helps determine whether a package is sealed properly and whether any leakage occurs under vacuum pressure. This test is essential for maintaining quality control, preventing spoilage, and ensuring that the end user receives a safe and intact product. To help you understand how to perform this test accurately, here is a complete, step-by-step guide to the vacuum test procedure.
Why Perform a Vacuum Leak Test?
Before diving into the process, it is important to understand why a vacuum leak test is so widely used. The test ensures:
- The package is properly sealed
- No air bubbles or leaks exist
- The product remains free from contamination
- The shelf life of the product is maintained
- Compliance with regulatory and industry standards
By identifying leaks early, manufacturers avoid costly rejections, customer complaints, and product recalls. With high-quality testing equipment from ITE Noida, you can perform the test with accuracy and confidence.
Stepwise Guide to the Vacuum Test Procedure
Below is a clear and practical step-by-step explanation of how to conduct a vacuum leak test correctly.
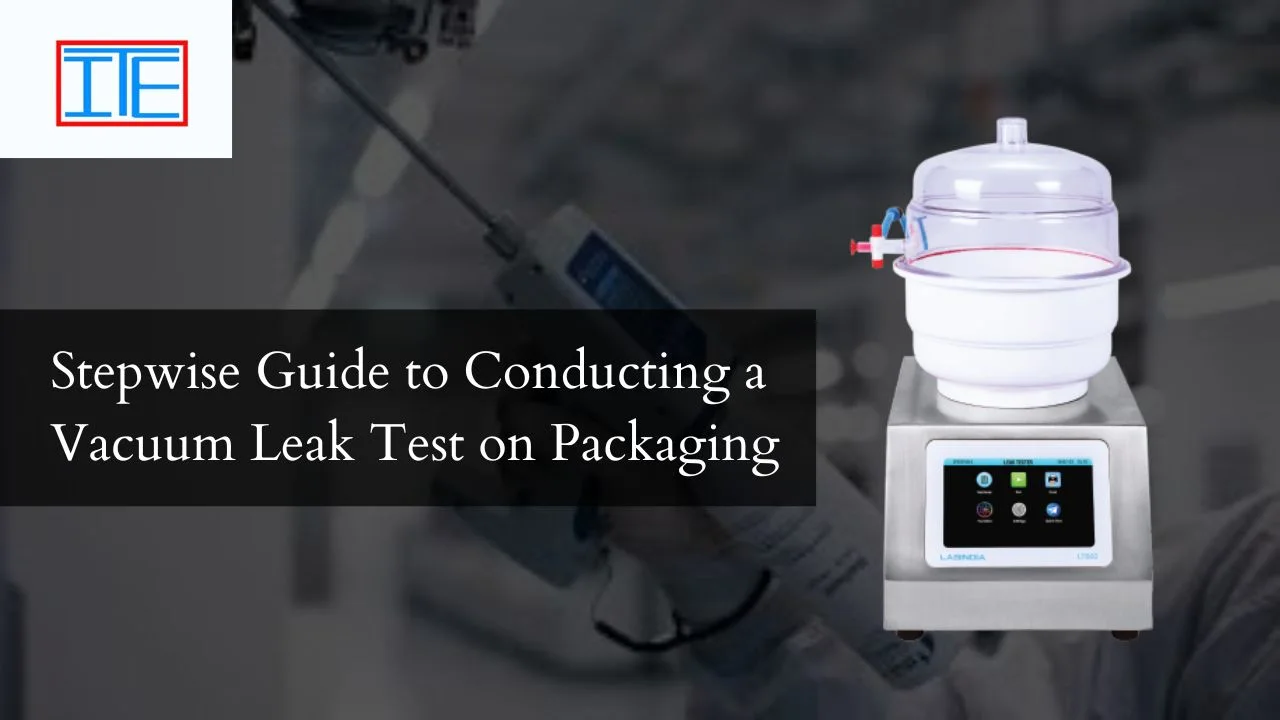
Step 1: Prepare the Testing Equipment
Begin by ensuring that the vacuum leak testing machine and all its components are working properly. Check:
- The vacuum chamber
- Pressure gauges
- Control panel settings
- Water level in the tank (if it is a water-based system)
ITE Noida’s equipment is designed to offer user-friendly features, so setup becomes simple even for new operators.
Step 2: Prepare the Sample Packaging
Select the packaging you want to test this may include pouches, bottles, blister packs, trays, jars, or sealed bags. Inspect the sample visually to ensure no physical damage already exists. Proper preparation avoids inaccurate test results.
Step 3: Place the Package Inside the Vacuum Chamber
Open the vacuum chamber lid and place the sample inside. Make sure the package is fully submerged in water if you are using a water-bath vacuum testing machine. This allows leaks to become visible as air bubbles. For dry-chamber machines, position the package on the holder or tray according to the manufacturer’s instructions.
Step 4: Seal the Chamber Properly
Close the lid of the chamber tightly and ensure the rubber gaskets are clean and sealed. A perfect chamber seal is essential for accurate vacuum creation. ITE Noida machines are built to ensure a tight and secure closure every time.
Step 5: Set the Vacuum Level
Adjust the vacuum pressure according to the testing standard or product requirement. The typical vacuum range varies depending on packaging type and industry guidelines.
Setting the correct vacuum pressure is critical for a successful vacuum leak test, and the operator manual provided by ITE Noida helps determine the right parameters.
Step 6: Start the Vacuum Creation Process
Press the start button to initiate the vacuum cycle. The pressure inside the chamber begins to drop, and the package is subjected to a reduced-pressure environment.
During this stage, if the packaging has a leak, air begins to escape, which will appear as:
- Continuous air bubbles in a water-bath test
- Swelling, deflating, or deforming in a dry-chamber test
The vacuum leak test clearly reveals any sealing defect, pinhole, or weak joint.
Step 7: Hold the Vacuum for the Required Duration
Allow the vacuum to hold for the duration mentioned in your testing standards (often 20–30 seconds or longer). This helps identify slow leaks that may not appear immediately. ITE Noida’s advanced systems allow automatic cycle settings, ensuring every test is uniform and repeatable.
Step 8: Release the Vacuum
After the hold time, slowly release the vacuum pressure by pressing the release button or following the procedure defined in your equipment manual. This step must be done carefully to avoid disturbing the sample or affecting the results.
Step 9: Inspect the Package
Once the vacuum is released, open the chamber and examine the package thoroughly. Look for:
- Air bubbles during the test
- Seal failure
- Deformation
- Leakage of product
Step 10: Document the Test Results
Proper documentation ensures traceability and quality control. Note the following:
- Vacuum level
- Test duration
- Package type
- Observations
- Pass or fail result
ITE Noida supports automated data recording options in many of its models, making record-keeping easy and error-free.
Also Read : What is Remote-Field Testing (RFT)?
Benefits of Conducting a Vacuum Leak Test
Performing the vacuum leak test offers several advantages:
- Ensures product safety
- Detects leaks early
- Prevents contamination
- Improves process quality
- Enhances brand trust
- Reduces product rejection and waste
Manufacturers who follow the correct procedure ensure consistency and reliability in their packaging operations.
A vacuum leak test is one of the most essential quality checks for ensuring packaging integrity, especially for products that require airtight sealing. By following a proper vacuum test procedure, manufacturers can ensure their products remain safe, fresh, and contamination-free throughout their shelf life. ITE Noida continues to offer high-quality vacuum leak testing machines that simplify this entire process, making it accurate, efficient, and fully compliant with industry standards.